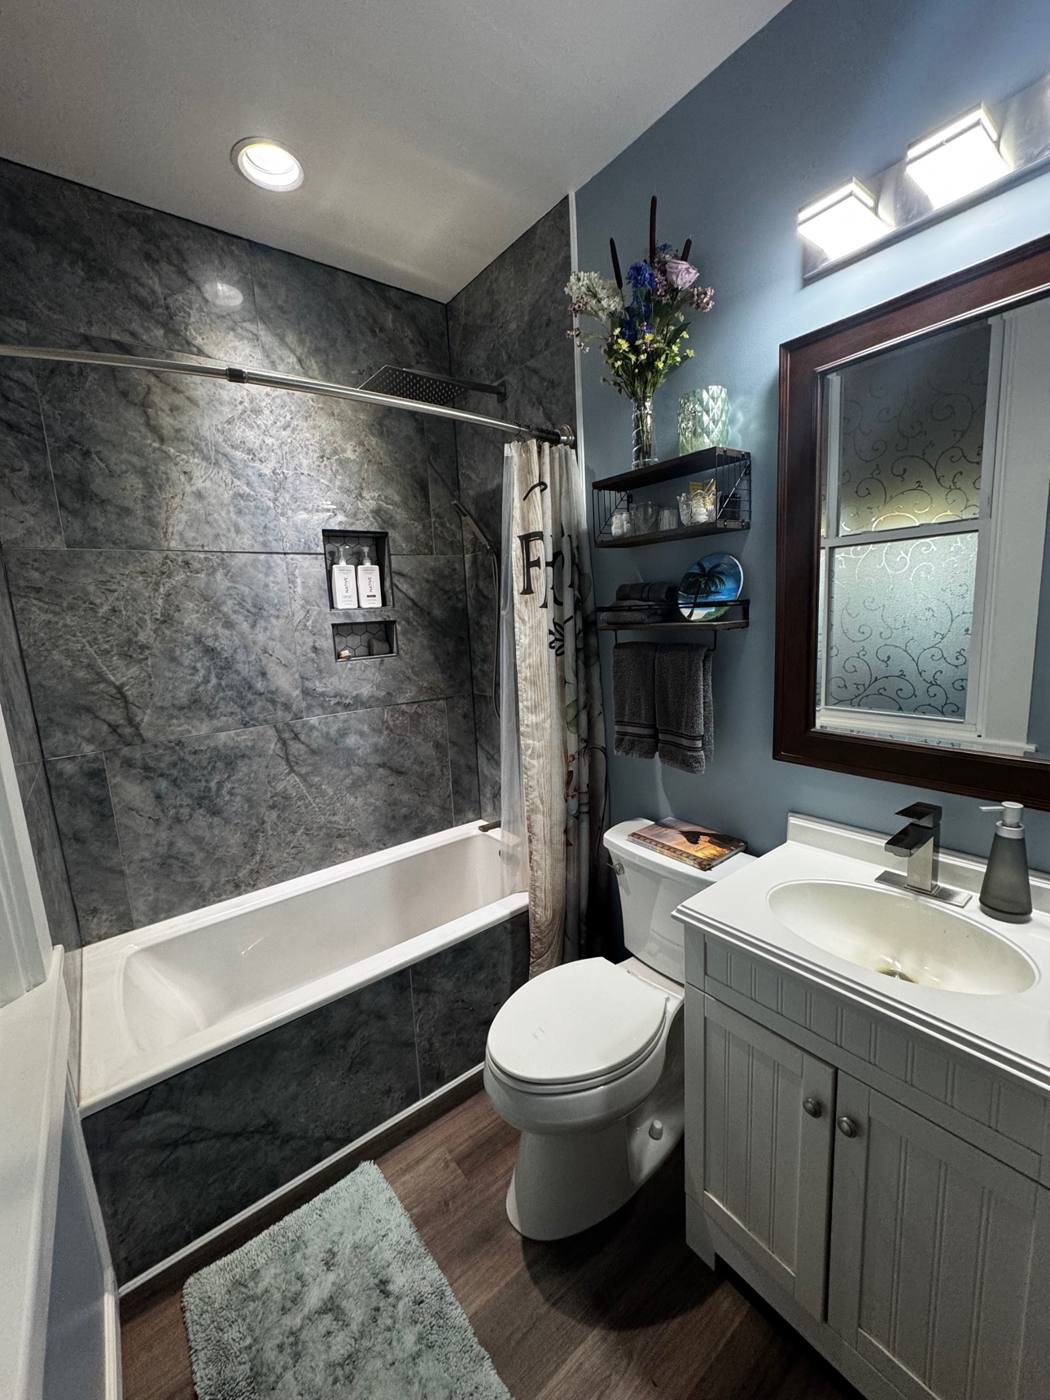
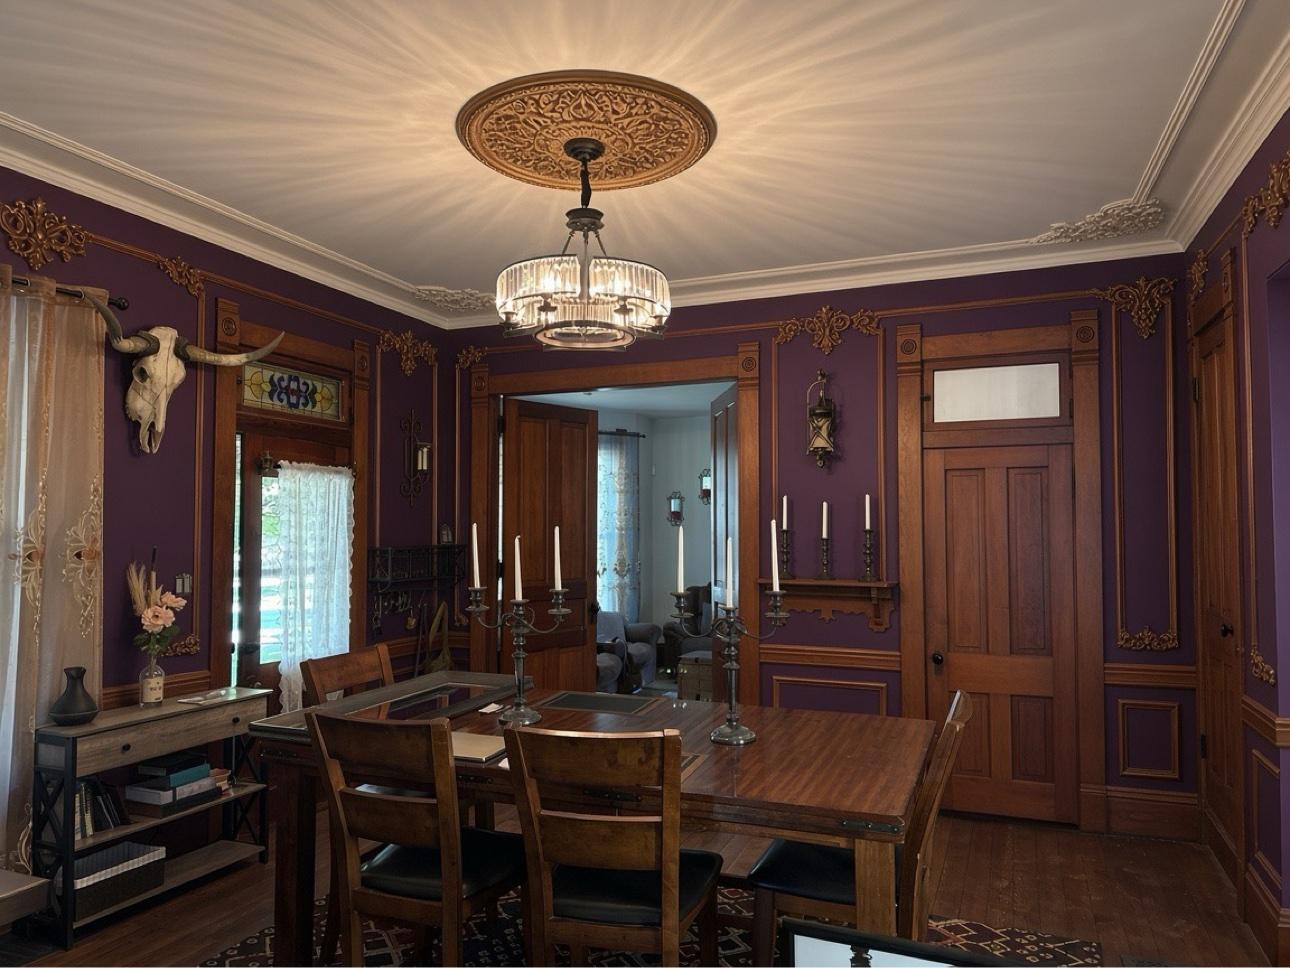
Ask any honest painting contractor in Indianapolis what separates a paint job that still looks good in ten years from one that’s peeling by year two, and you won’t hear a brand name. You’ll hear one word: prep.
Paint is the thin, pretty layer everyone sees. Prep is everything underneath it — the cleaning, scraping, sanding, repairing, caulking, and priming that most homeowners never watch happen and many cheap bids quietly skip. As a painting contractor Indianapolis homeowners call to fix other people’s failed paint jobs, we can usually tell within five minutes why a job failed, and it is almost never because the homeowner picked the wrong color or even the wrong paint. It failed because the surface wasn’t ready to hold paint in the first place.
Here is what real prep work looks like, why each step matters in Indiana’s climate, and how to tell whether the bid you’re looking at actually includes it.
Why Paint Fails Early — And Why It’s Rarely the Paint
Modern quality paint is remarkably good. A premium acrylic from Sherwin-Williams or Benjamin Moore, applied over a clean, sound, properly primed surface, should last 7–10 years inside and 5–10 years outside in Central Indiana, depending on sun and weather exposure.
When paint fails early, it fails in predictable ways, for predictable reasons:
- Peeling and flaking — paint was applied over loose, chalky, dirty, or glossy old paint it could never bond to.
- Bubbling and blistering — moisture was trapped behind the film, or paint went on over a damp or hot surface.
- Cracking in lines along trim and corners — old, hard caulk failed and nobody removed and replaced it before painting.
- Stains bleeding through — water stains, nicotine, tannins from bare wood, or marker and grease were painted over without a stain-blocking primer.
- Rough, gritty texture — walls weren’t sanded or cleaned between coats, so every bump and roller mark from the last job telegraphed through the new one.
Every one of those is a prep failure, not a paint failure. That’s good news, in a way: prep is a process, and a process can be done right on purpose.
Step 1: Inspect First — Moisture, Damage, and What’s Actually There
Good prep starts before a scraper ever touches a wall.
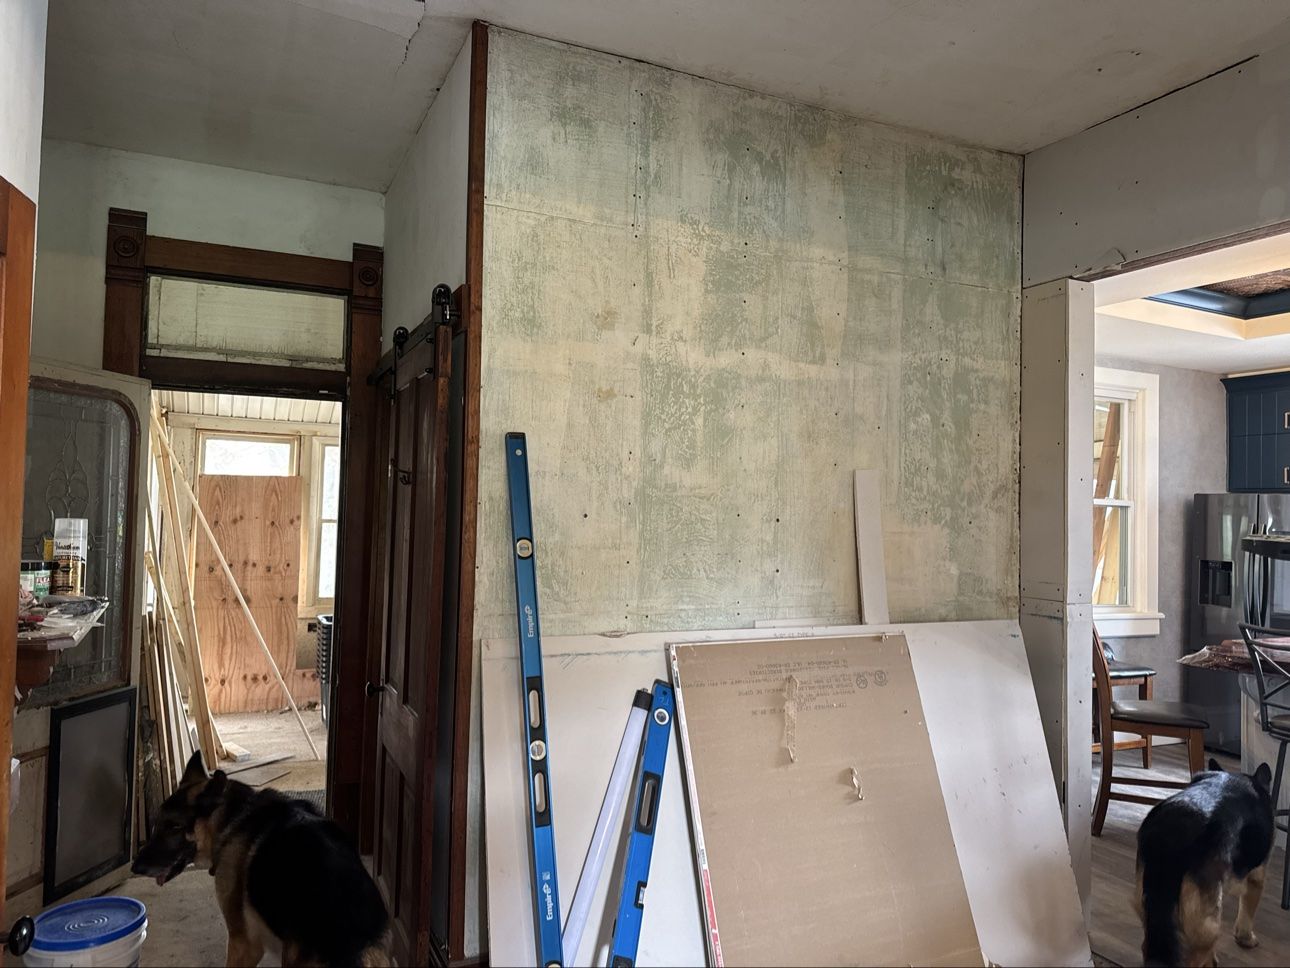
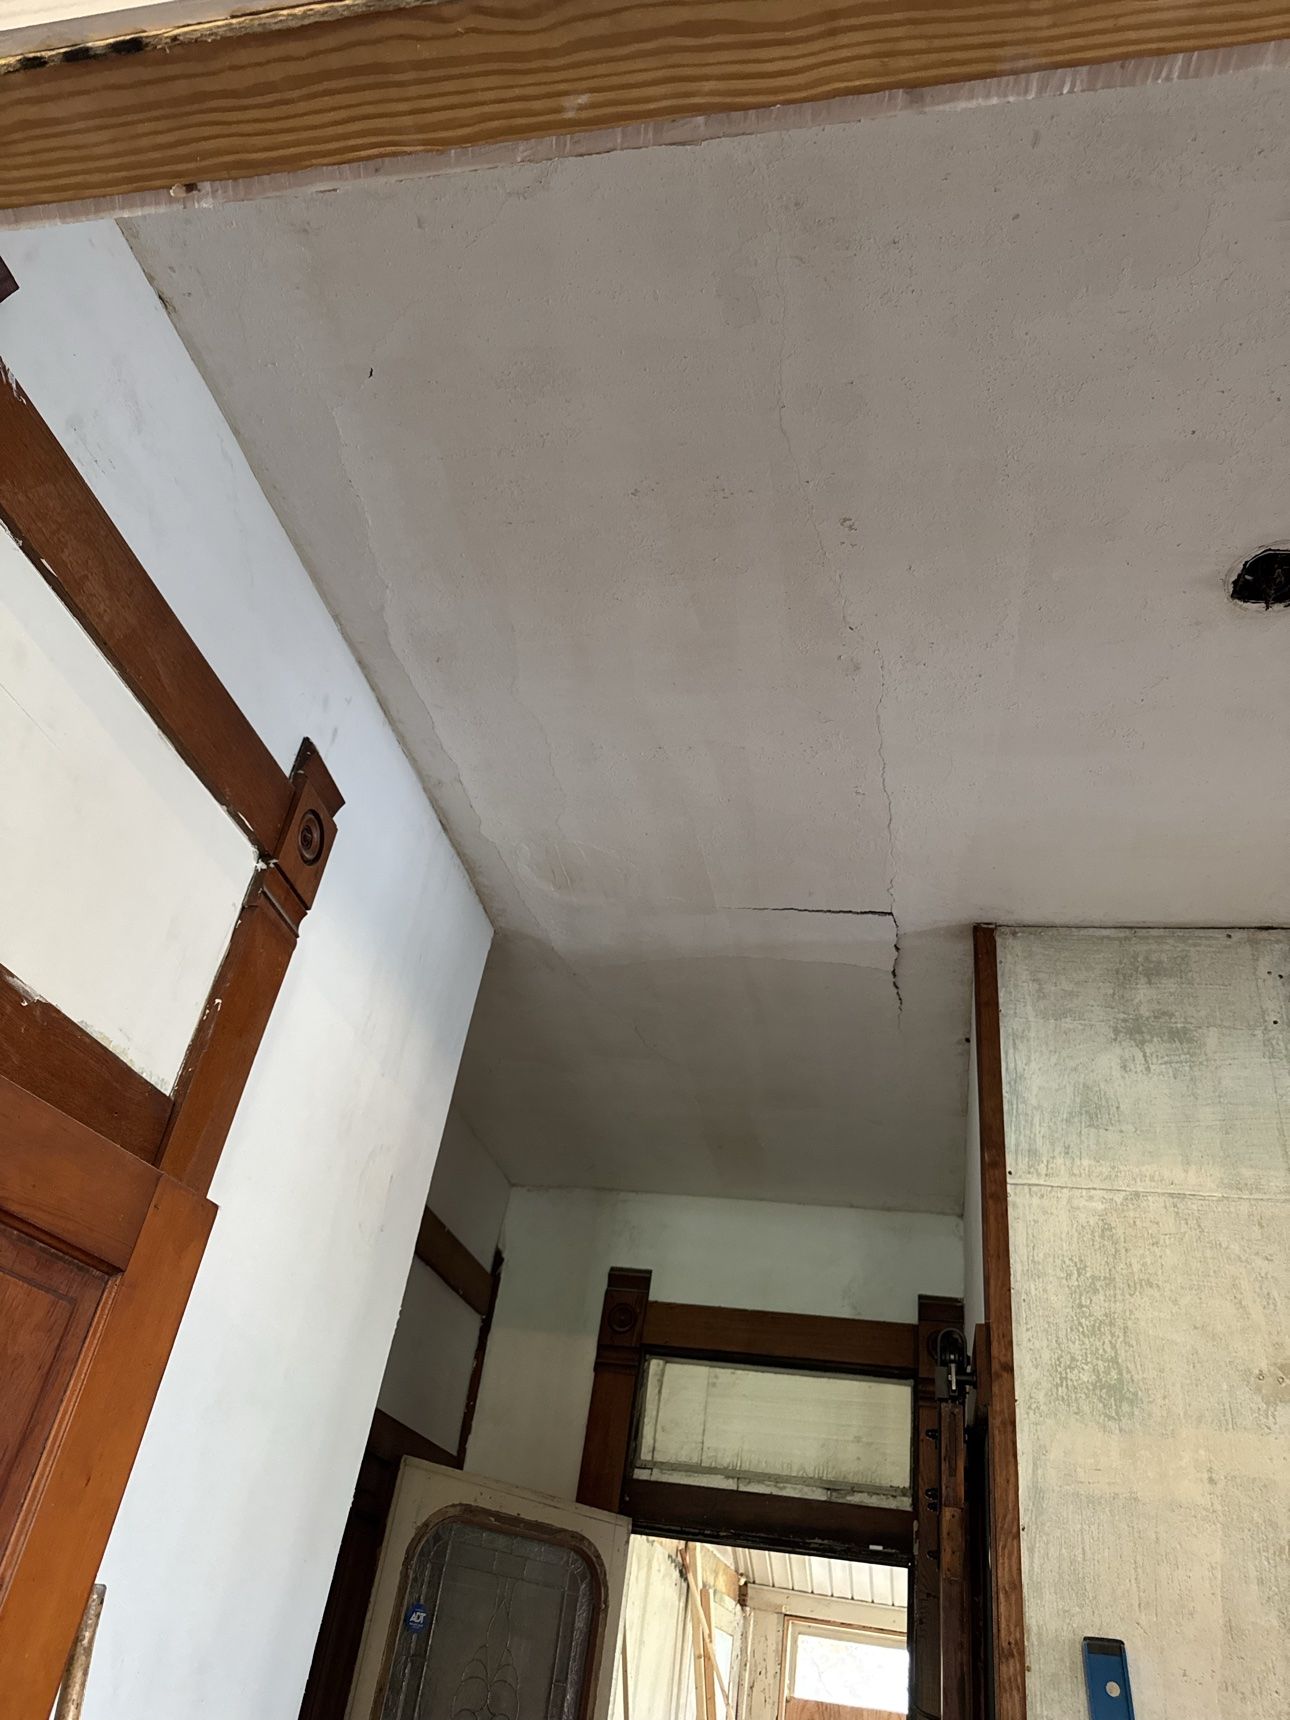
A careful crew walks the whole job first and looks for the problems paint will hide for about a month and then reveal: soft or rotted wood on exterior trim and window frames, water staining on ceilings, cracked or crumbling drywall, failing caulk around tubs, sinks, and windows, and signs of moisture where it shouldn’t be.
In older Indianapolis homes — the 1900s through 1960s houses we work in all over the city, including Victorian-era properties — this step also means thinking about lead. Homes built before 1978 may have lead-based paint, and disturbing it safely is not optional or a DIY experiment. The U.S. Environmental Protection Agency’s lead-safe guidance explains the Renovation, Repair, and Painting rule and why certified, lead-safe work practices matter when old paint will be scraped or sanded. If your house predates 1978, ask any contractor you hire how they handle that question before work starts.
Moisture gets checked, not guessed at. Painting over wood or drywall that’s still damp from a leak is money thrown away — the new film will push off as the moisture tries to escape. The leak gets fixed first, the surface dries, and only then does prep continue.
Step 2: Clean — Paint Does Not Stick to Dirt, Grease, or Chalk
This is the step most often skipped because it’s invisible in the finished photo.
Interior walls collect cooking grease (especially in kitchens), hand oils around switches and doors, dust, and cleaning residue. Exterior siding collects chalk — that powdery film old paint sheds as it breaks down — plus mildew, pollen, and road grime.
Paint applied over any of that is bonding to the contaminant, not to the surface. When the contaminant lets go, the paint goes with it.
Real cleaning looks like this:
- Interiors: wash kitchen and bathroom walls with a degreasing cleaner, wipe down trim and doors where hands actually touch, and dust and vacuum sanding debris before any coating goes on.
- Exteriors: a proper wash — pressure washing used carefully, or hand washing where siding, old wood, or historic material could be damaged by high pressure — followed by enough dry time. Washing the day before paint day is not dry time in a humid Indiana week.
- Mildew: treated and killed, not painted over. Paint with mildew underneath will show it again, usually within a season.
Our guide to the best paint for kitchen cabinets vs. walls makes the same point for cabinets: degreasing is not a fussy extra. In a kitchen, it is the difference between a finish that lasts a decade and one that chips at every door pull within a year.
Step 3: Scrape, Sand, and Smooth — Give New Paint a Sound Surface
Once surfaces are clean and dry, anything loose has to come off.
- Scraping: all peeling, curling, and flaking paint is scraped back to a firm edge. Painting over a loose edge just makes a thicker loose edge.
- Feather-sanding: the edges where old paint was scraped are sanded smooth so they don’t show as ridges through the new coats.
- Scuff-sanding glossy surfaces: glossy trim, doors, and previously enameled woodwork get sanded so the new coat has something to grip. Shiny, slick surfaces are where adhesion fails first.
- Sanding between coats: a light sand and a clean wipe between primer and paint, and between coats, is what produces that smooth, factory-like finish on trim and cabinets — and it’s a step you can feel with your hand even if you can’t see it in a photo.
This is slow, dusty, unglamorous labor. It is also, hour for hour, most of what a professional paint job actually is. On a typical interior repaint, prep and masking can take as long as — or longer than — applying the paint itself.
Step 4: Repair Before You Paint — Paint Hides Color, Not Damage
Fresh paint makes damage more visible, not less. Every nail hole, dent, crack, and gouge that was “barely noticeable” under the old color will catch light under a new, uniform finish.
So repairs happen before paint, not after:
- Nail holes and small dents filled, dried, and sanded flush
- Drywall cracks repaired properly — tape and compound where the crack will move, not just a smear of filler that re-cracks in a month
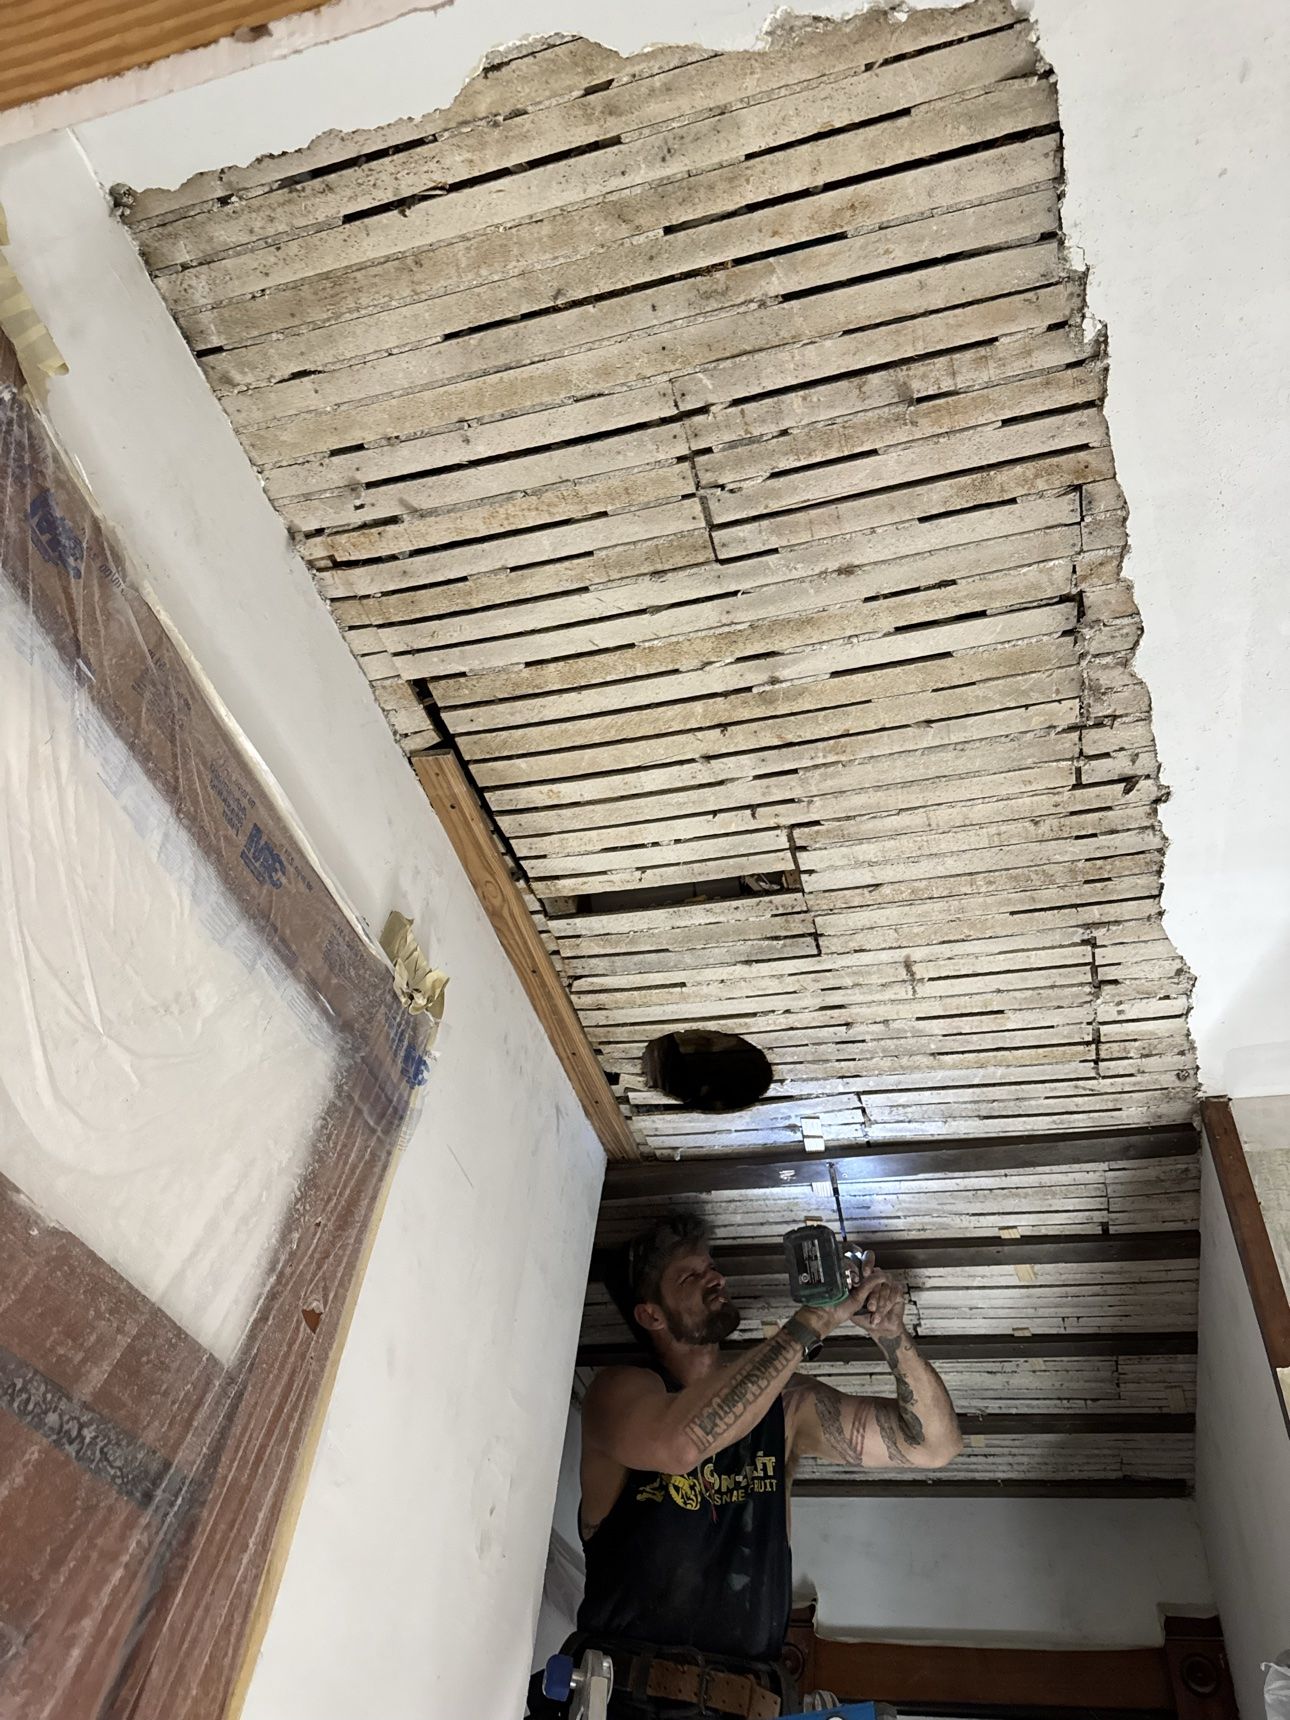
- Damaged drywall sections cut out and patched where water or impact has softened them
- Rotted exterior wood replaced or consolidated with appropriate repair materials — paint is not a structural fix for soft wood, and any contractor who offers to “seal it up with a good coat” is selling you a short delay, not a repair
- Old, split, or separated caulk cut out and replaced with quality paintable caulk at trim, windows, tubs, and fixtures — this is also a moisture defense, not just a cosmetic line
This repair-first approach is the same one we take on every interior renovation and remodeling project — finishes only perform as well as what’s underneath them, whether the finish is paint, tile, or flooring.
Step 5: Prime — Not Always, But Non-Negotiable When It’s Needed
“Paint and primer in one” has its place on previously painted, sound walls in good condition. It is not a universal substitute for a real primer, and knowing the difference is a big part of what you’re paying a professional for.
A dedicated primer is needed when:
- Bare drywall or new patches — new drywall and joint compound absorb paint unevenly (“flashing”) without a sealer coat.
- Bare wood — primer seals the wood and, on tannin-rich woods, blocks bleed-through that will yellow a finish coat.
- Stains — water stains, smoke and nicotine, and many inks need a stain-blocking primer; regular paint will let them ghost back through within weeks.
- Glossy or slick surfaces — a bonding primer is what makes paint hold on previously enameled trim, laminate-adjacent surfaces, and cabinets.
- Big color changes — a tinted primer can save a full finish coat when going from dark to light or light to a deep, saturated color.
- Exterior bare or weathered areas — scraped-to-wood sections must be primed, ideally soon after prep, before weather gets back into the bare surface.
Skipping primer where it’s needed doesn’t save money. It moves the cost to an extra finish coat that still doesn’t fix the problem, or to a repaint two years early. Sherwin-Williams’ surface preparation guidance walks through the same sequence — clean, repair, and prime before painting — because the manufacturers know their paint is only as good as the surface under it.
Step 6: Protect Everything That Isn’t Being Painted
Prep also means protection: floors covered, furniture moved or masked, hardware removed or carefully taped, light fixtures and switch plates taken off rather than painted around, and landscaping and walkways protected outside.
This step tells you a lot about a crew before a drop of paint is opened. Painters who remove switch plates paint like people who expect to be judged on details. Painters who paint around — or over — them are telling you exactly how the rest of the job will go. Clean lines at ceilings, trim, and floors are not talent. They are masking, patience, and prep.
Interior vs. Exterior Prep in Indianapolis: What’s Different
Interior prep is mostly about cleanliness, smoothness, and adhesion: degreasing kitchens, repairing drywall, sanding trim, caulking gaps, and controlling dust in a home people are living in.
Exterior prep in Central Indiana has an extra opponent: weather. Freeze-thaw cycles, humid summers, and strong sun on south- and west-facing walls punish any weak bond. Exterior prep therefore leans harder on:
- Removing all failing paint back to a sound edge — Indiana winters will find and lift anything loose
- Letting washed siding genuinely dry before priming or painting
- Replacing rotted trim and siding rather than coating over it
- Re-caulking joints and penetrations so water stays out of the wall assembly
- Timing — paint applied too cold, too hot, or ahead of rain hasn’t failed yet; it’s scheduled to
A paint job done in a rushed October weekend ahead of a cold snap, over siding that was washed that morning, is the classic Indianapolis repaint we get called about the following spring.
What About Cabinets and Trim?
Cabinets and trim are where prep matters most, because they take the most abuse and show every flaw up close. The full cabinet sequence — remove doors and hardware, label everything, degrease thoroughly, sand, bonding primer, sand again, then two finish coats with cure time respected — is detailed in our cabinet vs. wall paint guide. The short version: there are no shortcuts in that list that don’t show up later as chips at the handles and sticky doors.
Trim follows the same logic at a smaller scale: fill, sand, caulk, prime bare or repaired spots, then enamel. It’s fussy work, and it’s why trim that was prepped properly still looks crisp a decade later while trim that was just recoated looks tired in three years.
Commercial Painting: Prep Is Also About Downtime
For offices, retail spaces, and tenant improvements, prep has a business dimension: a coating failure doesn’t just look bad, it means closing or disrupting the space twice. In commercial work we phase prep and painting around business hours where needed, protect fixtures, flooring, and merchandise as carefully as in a home, and document surface repairs — especially in leased spaces, where the condition of walls and trim at turnover matters. It’s the same discipline we bring to our commercial remodeling work: do the hidden work right the first time, because coming back is the expensive option for everyone.
What Prep Means for Price — And the Bid Red Flags
Proper prep is why professional bids differ so much for what sounds like the same job. Two bids to “paint the exterior” can describe completely different amounts of work:
- One includes washing, scraping, sanding, wood repair, caulk replacement, spot or full priming, and two finish coats.
- The other includes pressure washing on Monday and paint on Tuesday.
The second bid is not a bargain version of the first. It is a different, shorter-lived product. When you compare bids, ask — in writing — what prep is included: washing, scraping and sanding, repairs, caulk, primer (what kind, and where), and how many finish coats. A contractor who does real prep will answer in detail without hesitating, because prep is most of their labor and they know it.
Red flags that prep is being skipped:
- A bid with no line items for prep, repairs, or primer at all
- A timeline that has a whole house washed, prepped, and painted in a day or two
- “We don’t really need to prime that” offered for bare wood, stains, or new drywall
- No mention of lead-safe practices on a pre-1978 home
- A price dramatically below every other bid, with no explanation of what’s different
Can You Do Your Own Prep and Hire Out the Painting?
Sometimes, yes — and it’s one of the smarter ways to save money without shortening the life of the job, if you genuinely do the prep to standard: wash and degrease, scrape and sand, fill and repair, caulk, mask, and remove hardware. Be honest with yourself about the standard, though. A contractor who inherits half-done prep will either redo it (and charge accordingly) or paint over it (and the result is on the prep, not the paint). The areas to never DIY casually are lead-paint disturbance in older homes, exterior rot repair, and anything involving ladders at height — those are safety questions, not savings opportunities.
FAQ
How long should a good paint job last?
With proper prep and quality paint, interior walls typically last 7–10 years before they need a refresh for wear and color, and trim and cabinets 8–12 years. Exterior paint in Indianapolis typically lasts 5–10 years depending on sun exposure, siding material, and — more than anything — how thorough the prep was. Paint that peels or fades in 2–3 years almost always points back to prep or moisture, not the calendar.
Is primer really necessary if my paint says “paint and primer in one”?
On previously painted walls in good condition, a quality paint-and-primer product is usually fine. On bare drywall, bare wood, stains, glossy surfaces, and major color changes, a dedicated primer is still necessary — those are adhesion and blocking problems a finish coat isn’t formulated to solve alone.
How much of a painting quote is prep work?
On most quality jobs, prep, repairs, masking, and cleanup account for roughly half or more of the labor — sometimes considerably more on exteriors with failing paint or older homes with lots of trim. That’s why a careful bid and a quick bid for “the same” paint job can be thousands of dollars apart.
Can you paint over peeling paint if you sand it well?
No — sanding alone doesn’t fix it. All loose paint has to be removed back to a firm, sound edge, that edge feather-sanded, and any bare surface primed. Painting or just sanding over the loose area leaves the failure in place under a new coat, and it will lift again, usually taking the new paint with it.
How long does prep take before painting starts?
For a typical interior repaint of a few rooms, expect a full day or more of cleaning, repairs, sanding, caulking, and masking before the first finish coat. Exteriors vary widely with condition — a house with significant peeling and wood repair can need several days of prep alone. If a schedule shows painting starting within an hour of arrival on a job that needs real prep, ask what step isn’t happening.
Does my Indianapolis home have lead paint?
If it was built before 1978, it may. The older the home, the more likely lead paint is present in some layers. Testing is the only way to know, and any scraping or sanding work on a pre-1978 home should follow EPA lead-safe practices. Ask about it up front — a professional will expect the question on older Indianapolis homes.
The Bottom Line
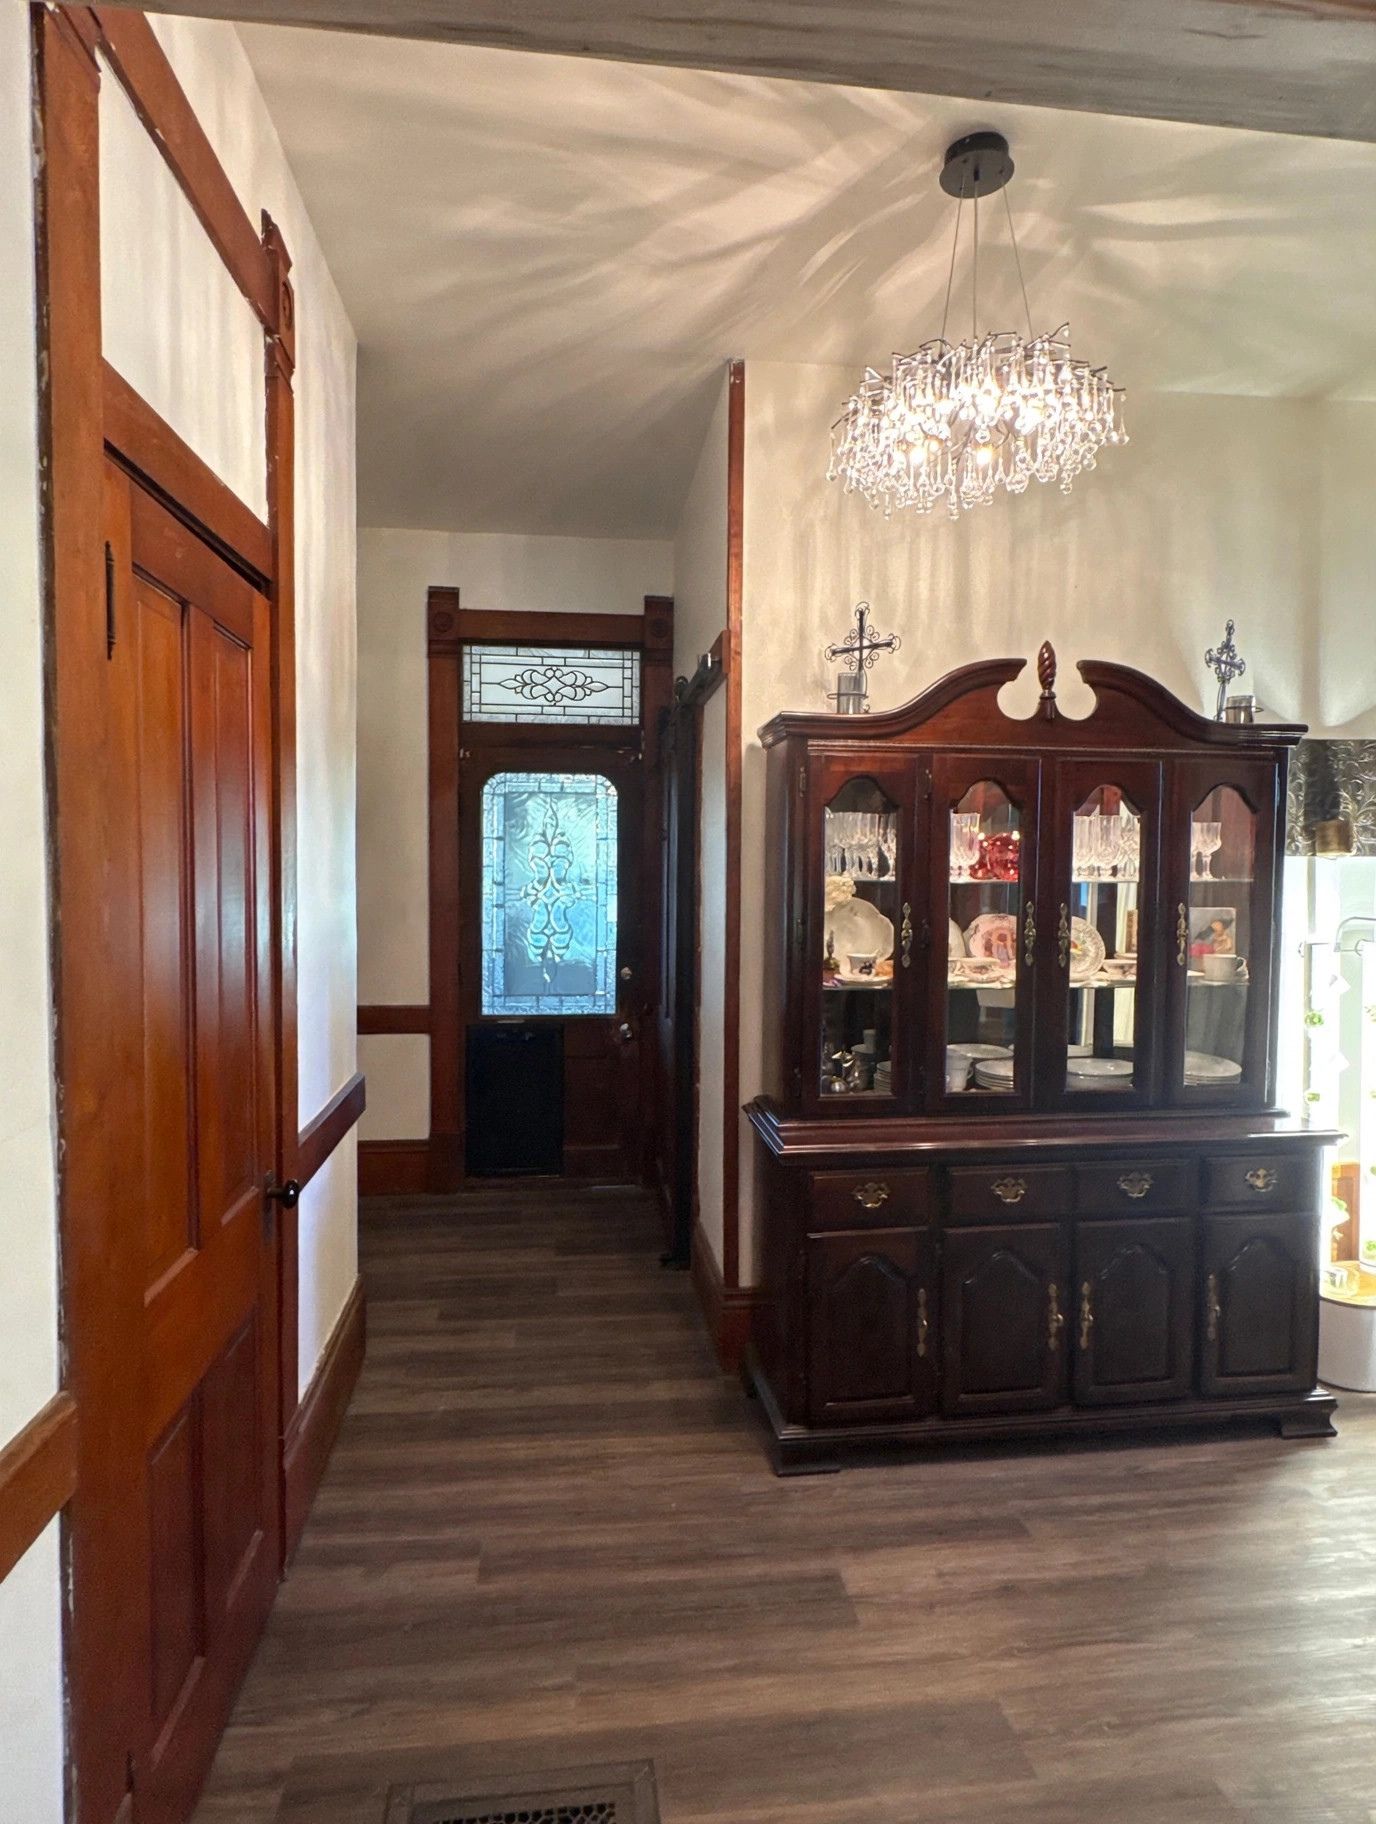
Paint doesn’t fail because it’s paint. It fails because of what was — or wasn’t — done in the hours and days before the first coat went on: the washing, scraping, sanding, repairing, caulking, and priming that nobody posts photos of.
If you want a paint job that lasts ten years, hire for the prep, not just the color. Ask what’s included, get it in writing, and be suspicious of any bid that’s cheap because the invisible work isn’t in it.
New Life General Contracting LLC is a family-owned and disabled veteran-owned general contractor serving residential and commercial clients across the Indianapolis, Indiana area.
Disclaimer: This article is for general information and education only. It is not a quote, bid, contract, or professional advice for your specific property or project. Conditions, building codes, material costs, and project needs vary, and information may change over time. Always verify details, follow manufacturer instructions and local codes, and consult qualified, licensed professionals before starting work. New Life General Contracting LLC assumes no liability for any loss, damage, or injury arising from reliance on the information in this article.